How to Take Progress Pics That Actually Show Your Results
I've been lifting for about six months. The scale says I weigh two pounds more than when I started. But my progress photos from January compared to now? Completely different person. Shoulders wider, waist tighter, posture straighter.
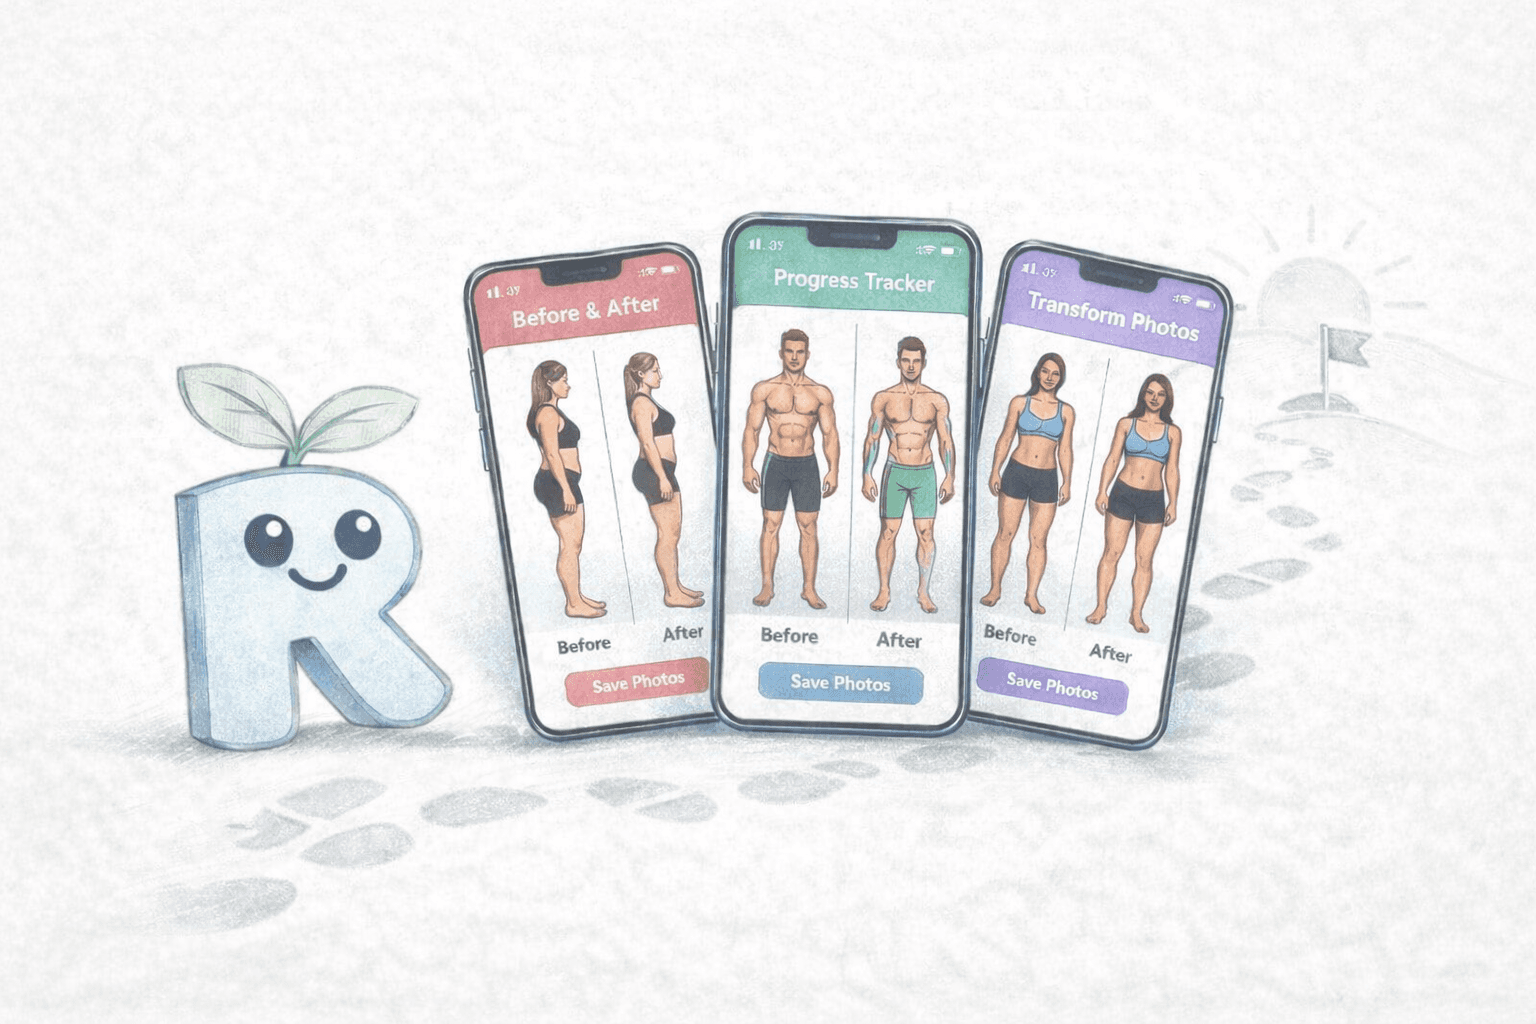
Progress pics work. But most people take them wrong, and the photos end up useless for comparison because the angle, lighting, or distance changed between shots. These eight steps fix that.
8 steps to progress pics you can compare
Step 1: Wear form-fitting clothes
You can't see changes through a baggy t-shirt. Wear the same fitted outfit every time you shoot: a tank top, sports bra, or compression shorts. Your midsection should be visible since that's where most changes show up first.
If you can't wear the same exact outfit, pick something similar. Switching between a hoodie and a tank top makes your comparisons useless.
Step 2: Pick one spot and stick with it
Find a plain wall with no clutter, patterns, or distracting objects behind you. A blank wall near a window is ideal. Use that same spot every time.
I use the same corner of my bedroom, same time of morning, same window to my left. When I swipe between two photos taken a month apart, the only thing that changed is my body.
Step 3: Use natural light
Lighting changes how your body looks in photos. Overhead gym lights cast shadows that make muscles look bigger. Dim bedroom light hides definition. Neither gives you an honest comparison.
Stand facing a window or with natural light to one side. Take your photos at the same time of day so the light stays consistent between sessions.
Step 4: Ditch the mirror selfie
Mirror selfies feel convenient, but they're bad for tracking progress. Your phone blocks your torso. The angle shifts every time you hold it up. And mirrors cast their own color depending on the light behind you.
Prop your phone on a shelf or use a tripod across the room. Set a timer, or use a voice command to trigger the shot so you don't have to sprint back into position. Then & Now has a voice-activated timer that lets you trigger the camera from across the room, which I started using after I got tired of the run-back-and-pose routine.
Step 5: Use a ghost overlay to match your position
Most guides skip this step. It matters more than all the others combined.
You can nail the lighting, the background, and the outfit. But if you're standing two feet closer or angled slightly different from your last photo, the comparison falls apart. You can't eyeball consistent positioning across weeks or months.
You fix this with a ghost overlay. You see a faded version of your previous photo on the camera screen and line yourself up with it before you shoot. Your framing matches within an inch, every time.
I tried tracking progress with my regular camera for weeks. The comparisons were useless because I took them in slightly different positions every time. Once I started using a ghost overlay in Then & Now, every comparison made sense. I could see changes week to week.
Then & Now, Metamorph, and Shapez all have a version of this feature. If you only change one thing about how you take progress pics, make it this.
Step 6: Shoot three angles
Front-facing photos only tell part of the story. Your posture changes, your back develops, and your side profile shifts as you lose or gain weight.
Take three photos each session: front, side, and back. Pick the same side every time (I always do my left). It adds 30 seconds and gives you a complete picture when you compare later.
Step 7: Stand the same way every time
Shoulders back, arms relaxed at your sides, feet hip-width apart. Don't flex unless you're taking a separate set of flexed photos.
Small changes in posture make a surprising difference in photos. Slouching hides shoulder development. Sucking in your stomach skews your baseline. Pick a natural, relaxed stance and recreate it every session.
Step 8: Shoot weekly and set a reminder
Once a week. Your body doesn't change enough day to day for daily photos to be useful, and staring at two photos from Tuesday and Wednesday looking for differences that don't exist yet can mess with your head.
Weekly gives your body time to change between shots. Pick a day (Sunday morning works well) and don't skip it. Apps like Then & Now have built-in smart reminders that nudge you on your schedule, so you don't have to remember on your own. If you rely on memory alone, you'll forget by week three.
Monthly is too infrequent. A lot can change in four weeks, and if something in your routine isn't working, you want to catch it before a full month passes.
Pair your photos with a goal
A progress photo shows you where you've been. Pairing it with a goal shows you where you're headed.
I keep my progress photos connected to the goals behind them. If my resolution is to get stronger this year, I want to see my photos alongside the milestones I've set: first unassisted pull-up, bench press body weight, run a 5K. The photo shows the visual change. The goal gives it context.
That's part of why I built Resolutely. You set your goals, break them into steps, and the app prompts you to reflect throughout the year. Pairing that structured check-in with visual evidence from progress photos gives you the full picture of how far you've come.
Quick checklist
Before your next progress photo:
- Same fitted outfit every session
- Same room, same spot, same time of day
- Natural light from the same direction
- Phone propped or on a timer (no mirror selfies)
- Ghost overlay on to match your last position
- Three angles: front, side, back
- Relaxed posture, arms at sides
- Weekly cadence with a reminder set
Get those right and your photos become something you can look back on in six or twelve months and see real change. Skip them and you'll end up with a camera roll full of photos you can't compare.